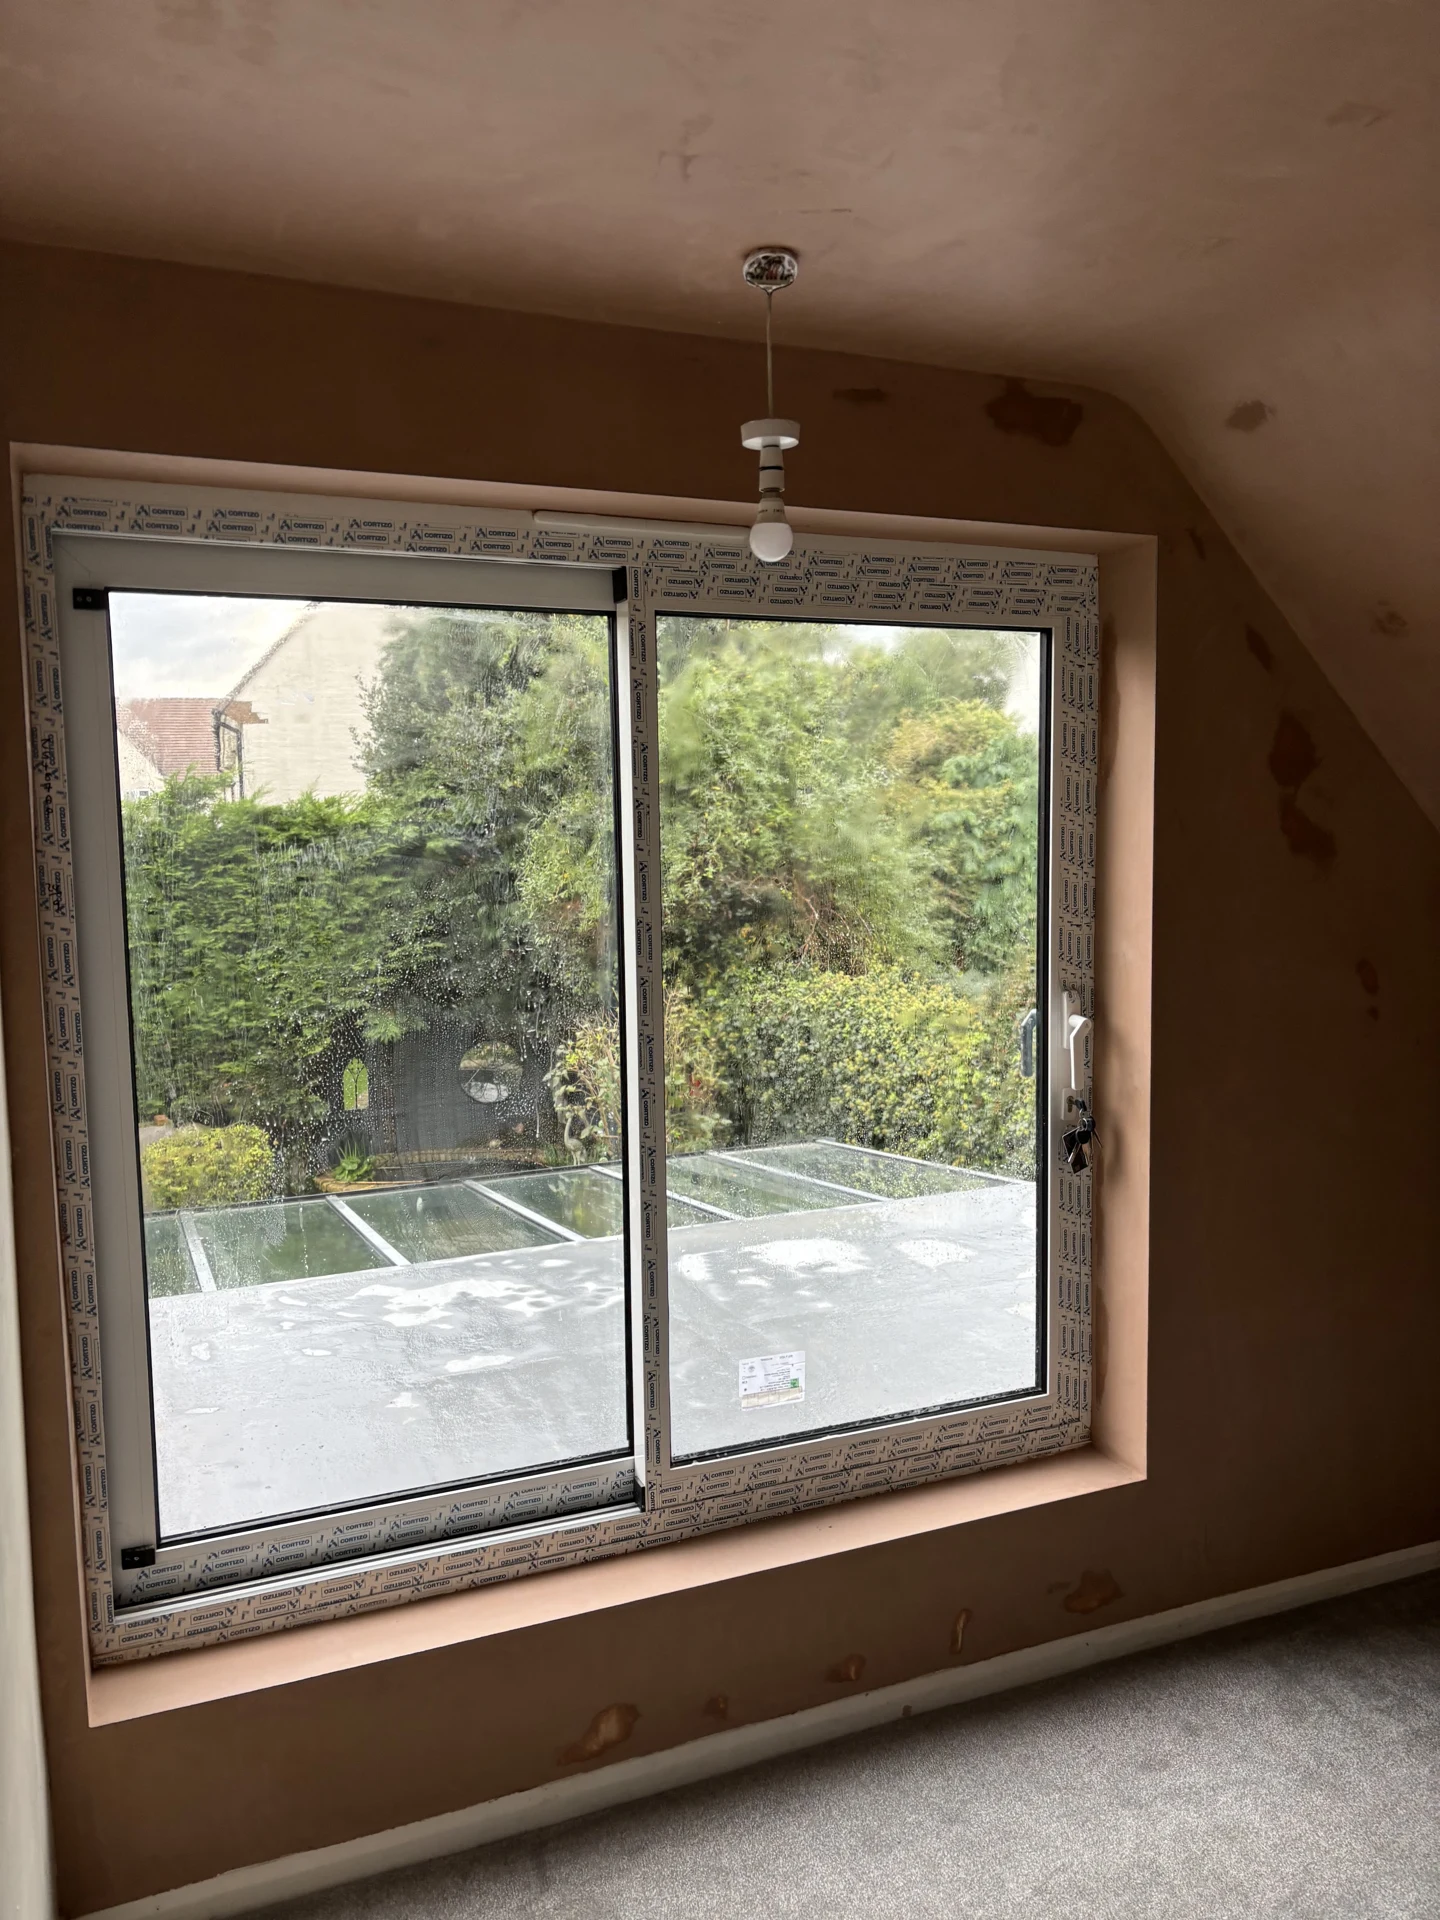
What a skim coat is
Skimming applies a finishing coat, usually a couple of millimetres thick, over an existing surface. It's trowelled smooth and left to dry before decorating. The result should be flat, even and free of the ridges, marks or texture that were on the surface before.
When skimming is the right choice
Skimming suits walls and ceilings that are sound underneath but rough, patchy, marked, or finished in an outdated texture such as artex. It's not the right fix where plaster has lost its bond, has significant cracks, or is coming away from the background; that points to replastering instead, covered on the skim or replaster guide.
Skimming over sound plaster or boards
Skimming can go directly over existing sound plaster, or over new plasterboard once it's been taped and jointed. Either way, the surface needs to be stable and clean before the skim coat goes on, so any loose material is removed or made good first.
Finish quality and drying
A good skim should dry to a flat, consistent finish with no visible trowel marks once painted. New skim changes colour as it dries, from a darker, damp tone to a lighter, even one, and should be left to dry fully before painting starts.
Mist coats
A mist coat is a diluted first coat of paint applied to new plaster, which helps the surface absorb paint more evenly before the full coats go on. It's generally applied once the skim has dried, and is a normal step rather than an extra one.
Checking a surface is ready to skim
Before a skim coat goes on, the surface underneath is checked for anything that would stop it bonding properly: loose paint, flaking distemper, old wallpaper or powdery patches. Old wallpaper in particular needs stripping off completely first, since plaster won't key onto paper or old paste reliably. PVA or a proprietary bonding agent is often brushed on beforehand to help the new skim grip, especially on smoother or more absorbent surfaces.
Small cracks and patch repairs within a skim
Hairline cracks and small areas of damage are commonly dealt with as part of a wider skim, filled and made good before the finishing coat goes over the top, so the new surface is consistent across the whole wall or ceiling rather than showing patches of old and new material.
How a skim coat is finished
A skim coat is usually applied in two thin passes rather than one thick one, trowelled out and worked smooth as it begins to firm up. The final pass, sometimes helped with a light spray of water, closes any remaining trowel marks and leaves the surface ready for a mist coat once it's dried through.
Skimming new plasterboard versus old plaster
Skimming fresh plasterboard is generally more predictable than skimming over old existing plaster, because new boards have a consistent, known surface once taped and jointed. Old plaster can vary across a single wall, with patches that absorb moisture differently or have been previously painted with different products, so a bit more care and sometimes an extra coat of bonding agent is needed to get an even result.
Weather and room temperature while skimming
A reasonably stable, moderate room temperature helps plaster go on and dry evenly; a very cold room can slow the set right down, while a hot, dry room can make it set too fast to work properly. Where possible, heating is kept gentle and consistent during and after skimming rather than switched off completely or turned up high, to avoid the surface drying unevenly.
Skimming after removing wallpaper
Stripping wallpaper can reveal more than expected. Adhesive residue, areas of old filler and flaky paint are all worth checking before booking a skim. Removing paper is not the same as preparing a stable plastering background: the surface below still needs assessment. Let the plasterer know whether paper has already been stripped or whether you are seeing only the wall covering.
Do not wet or seal the wall with products chosen at random in advance. Background preparation depends on the existing finish and how absorbent it is. An unsuitable coating can create extra work rather than helping the new plaster adhere. Ask which preparation you should complete yourself, and leave specialist surface treatments to the agreed plan.
Checking the room before painting
Look at the wall in natural daylight when discussing the intended result, particularly where a window casts light along the surface. Side lighting makes bumps more obvious than light shining straight onto a wall. Once drying is complete, use a paint system suitable for fresh plaster and follow the manufacturer’s directions for its first coat.
Questions homeowners ask
What's the difference between skimming and plastering?
Skimming is a thin finishing coat applied over a surface that's already sound. Plastering, or replastering, rebuilds a wall or ceiling from a damaged or missing base. The plastering page covers replastering in more detail.
Can you skim directly over artex?
Yes, in most cases a sound artex ceiling or wall can be skimmed over directly. See the skimming over artex page for the detail, including advice on older ceilings.
How smooth will the finish be?
A properly applied skim coat should dry flat and even, ready for painting, with no visible texture or trowel marks.
What's a mist coat and do I need one?
A mist coat is a diluted first coat of paint used on new plaster to help it absorb paint evenly. It's a normal step after a skim has dried, before the full coats of paint go on.
How do I know if skimming is right for my wall?
If the wall is sound but rough, marked or dated in finish, skimming usually works well. If it's hollow, cracked or crumbling, replastering is more appropriate; the skim or replaster guide explains how to tell the difference.